Sheets
Structured, tabular context: requirement registers, backlogs, estimation matrices, RFP response grids. Sheets bring spreadsheet discipline into the project with ownership, tags, verification state, and AI-fillable columns on every row.
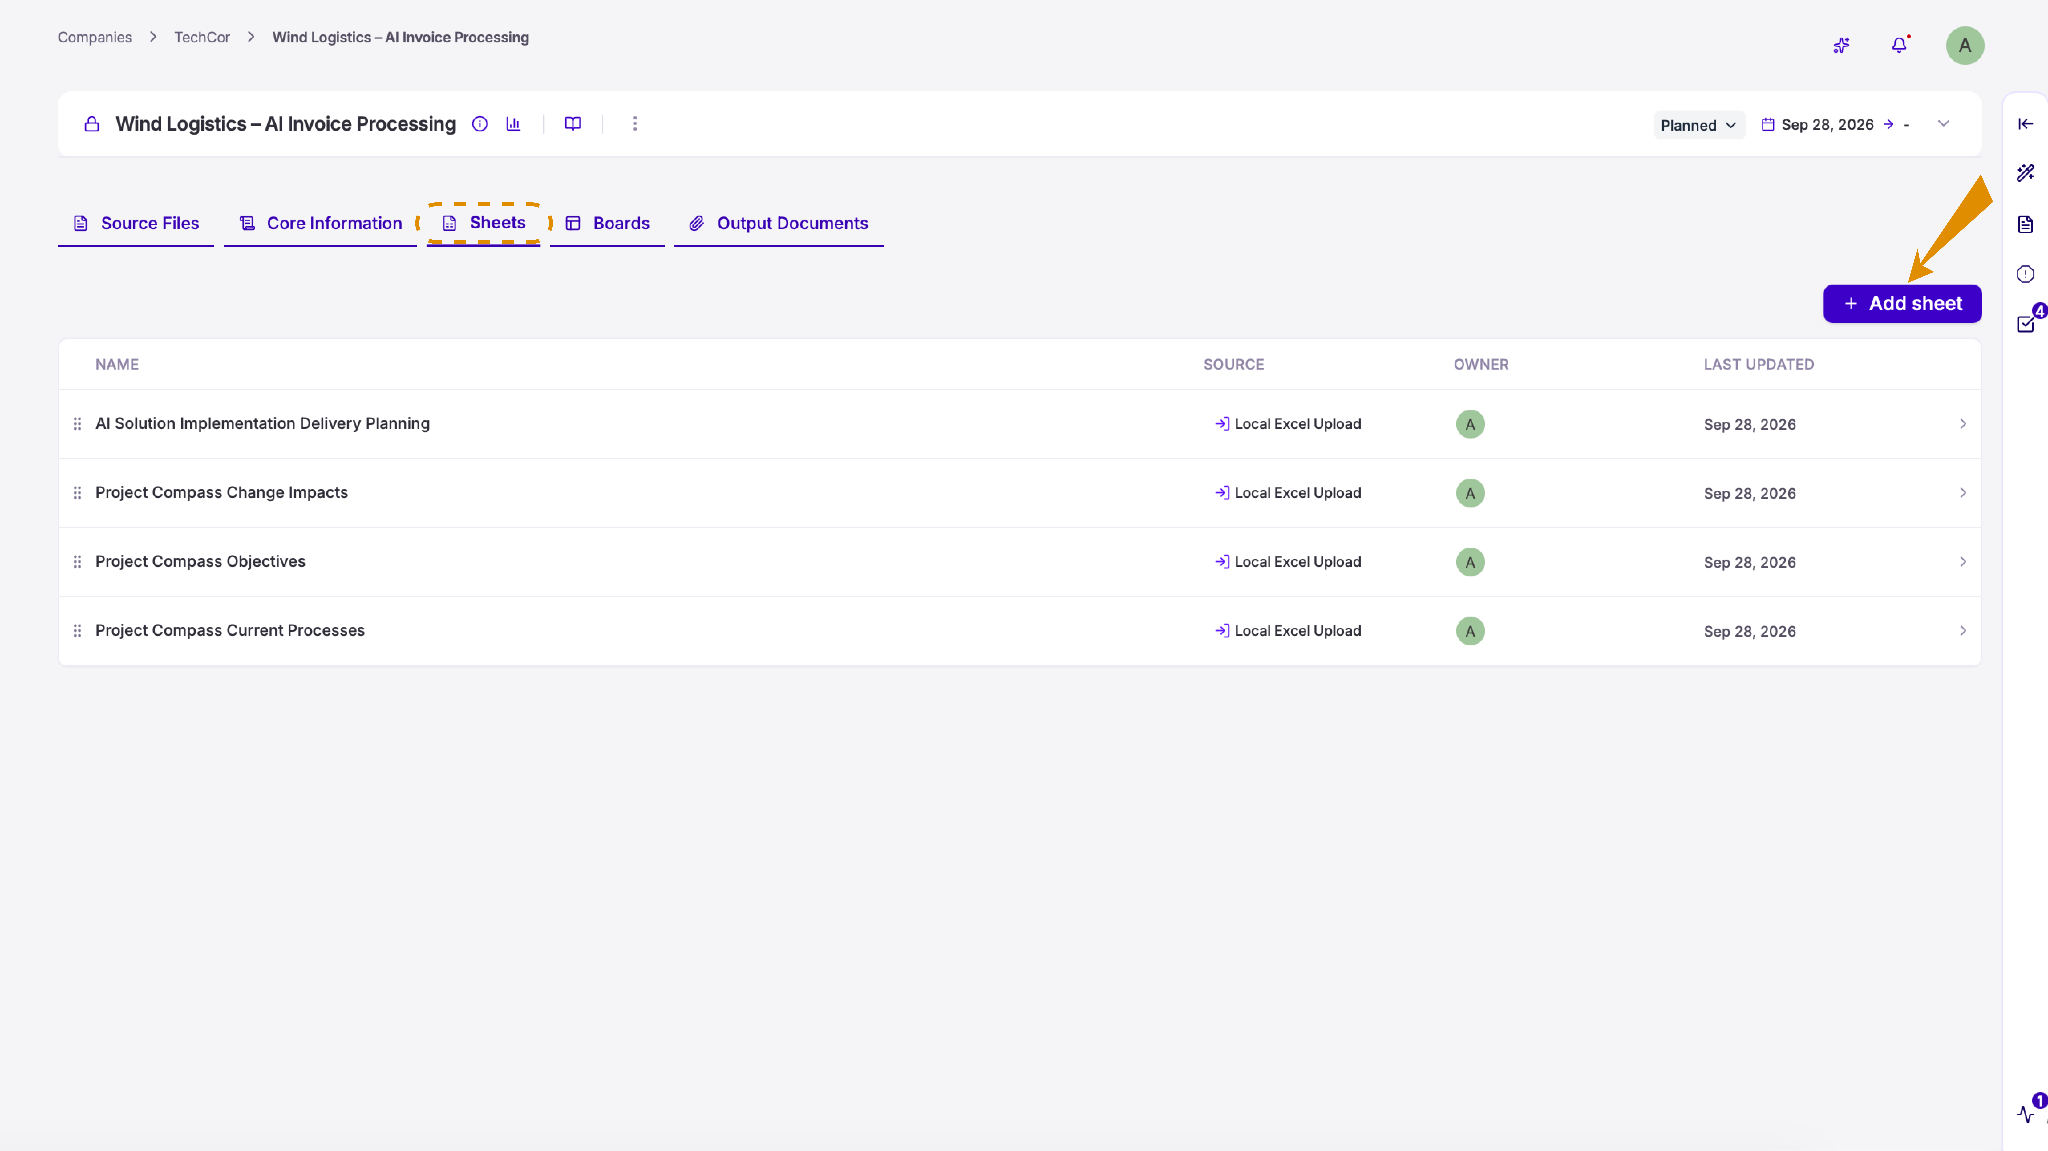
All your project's sheets are listed in the Sheets tab. For each sheet, you can see where it came from (for example, a local Excel upload), who owns it, and when it was last updated.
Click a sheet to open it. To change the order of the list, drag a sheet up or down using the handle on the left. To add a new sheet, click + Add sheet in the top-right corner.
Add a sheet
Click + Add sheet and choose how you'd like to add it to your project:
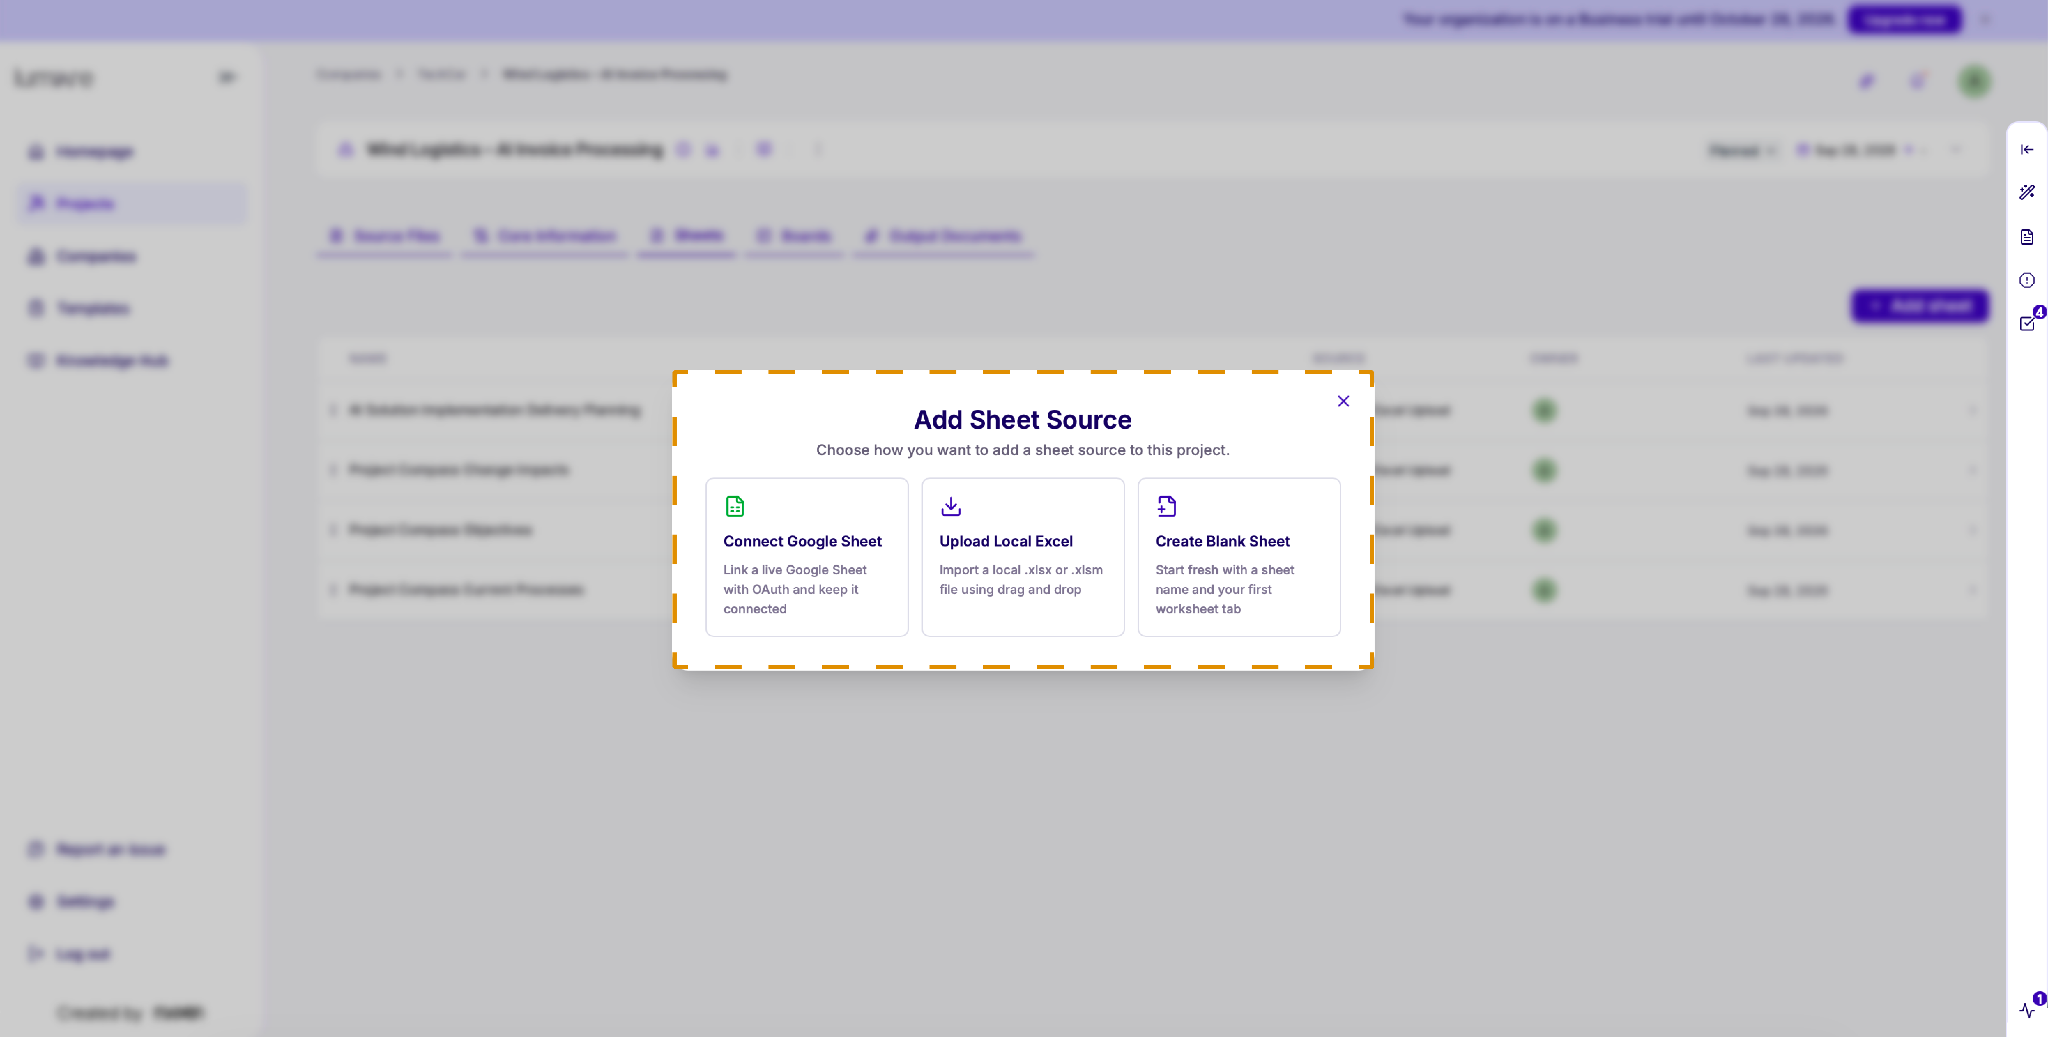
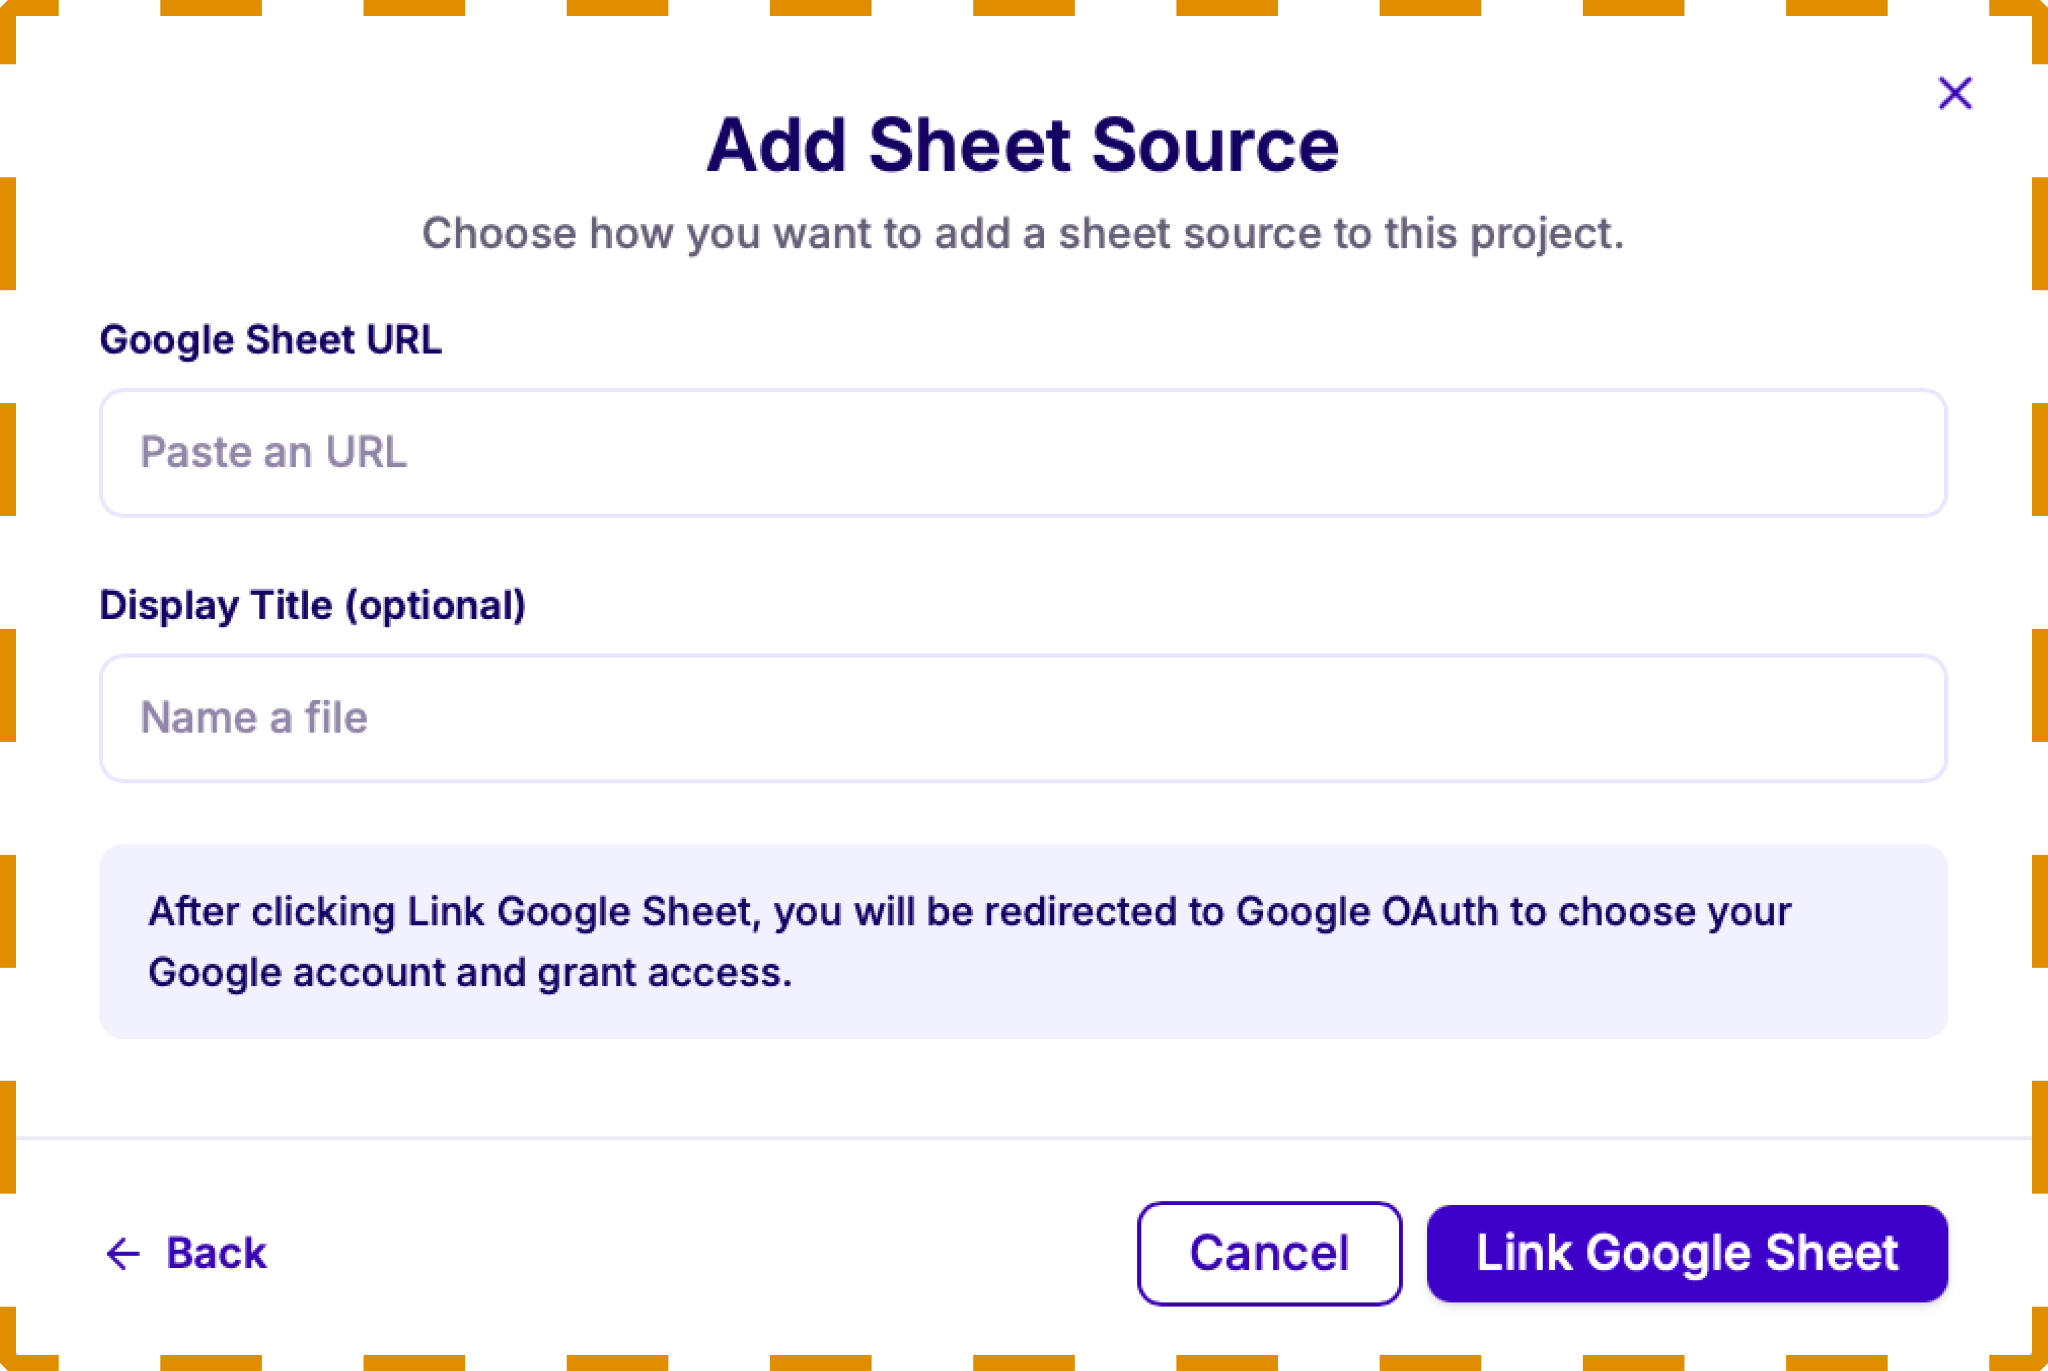
- Connect Google Sheet: Link a live Google Sheet by signing in with your Google account. The sheet stays connected, so changes are kept in sync.
- Upload Local Excel: Import an .xlsx or .xlsm file from your computer by dragging and dropping it.
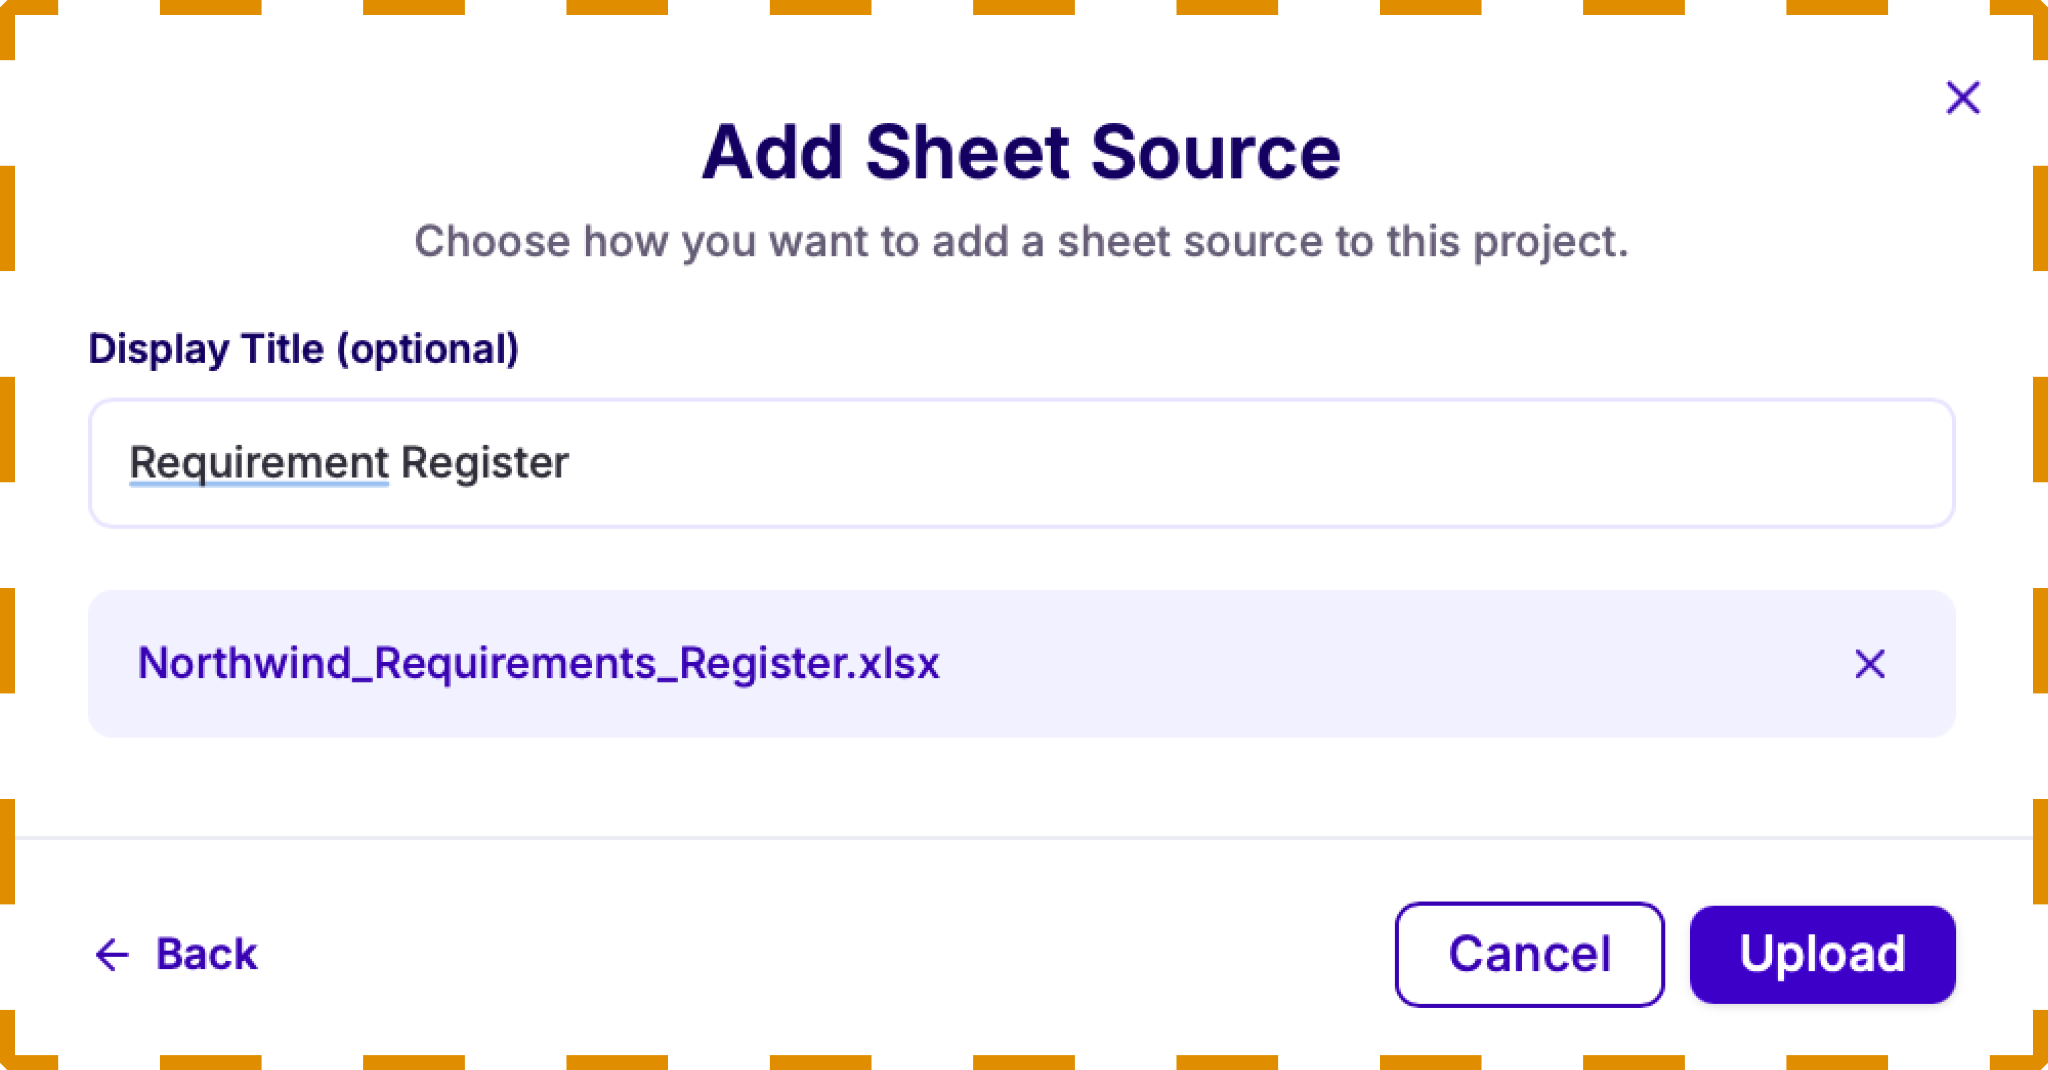
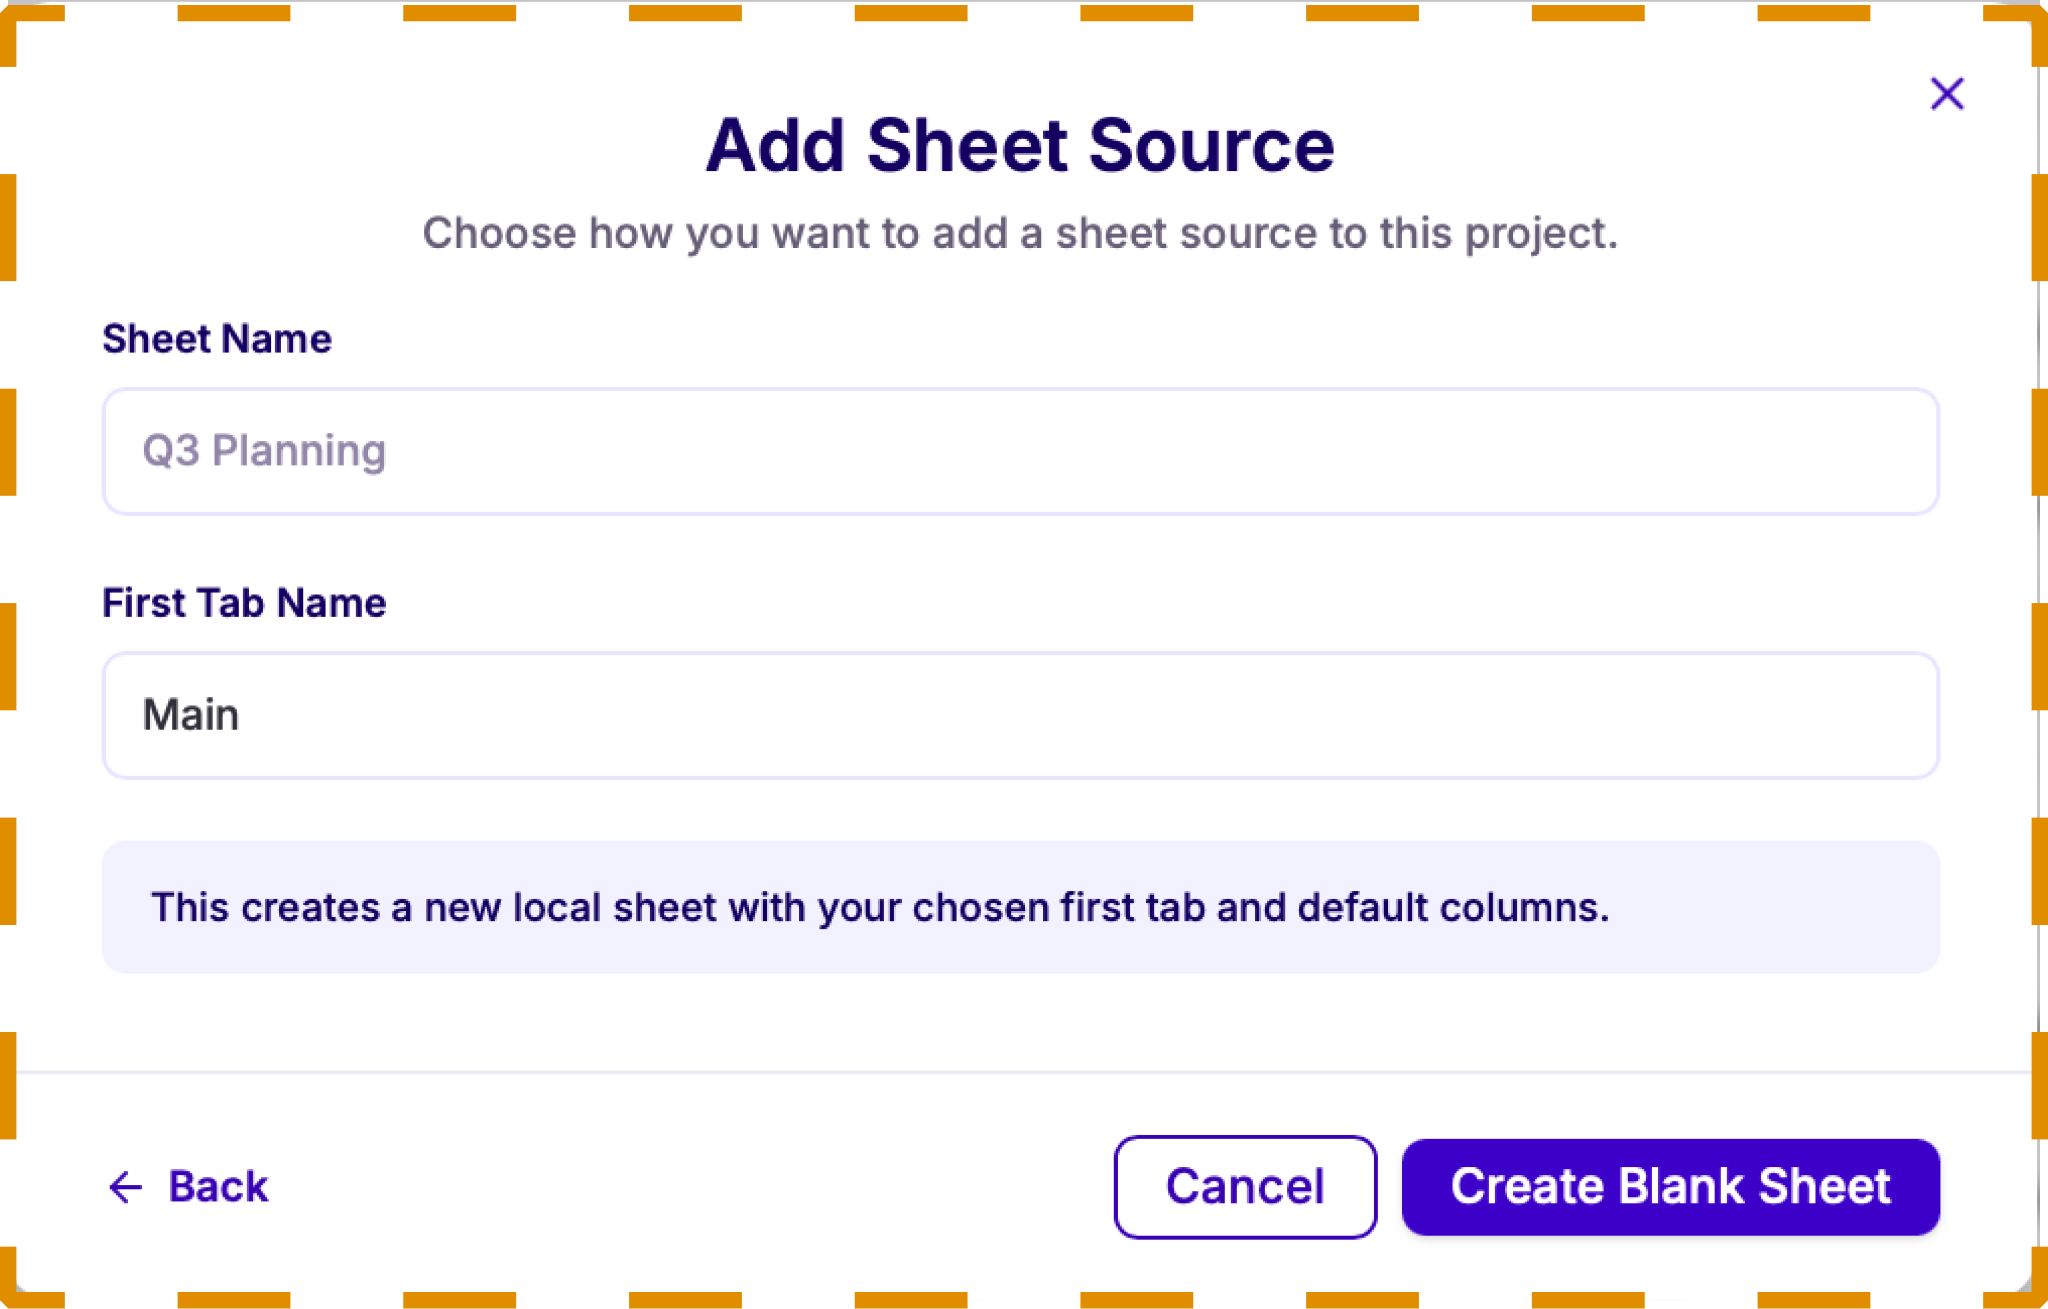
- Create Blank Sheet: Start from scratch by entering a sheet name and the name of your first tab.
Work with sheets
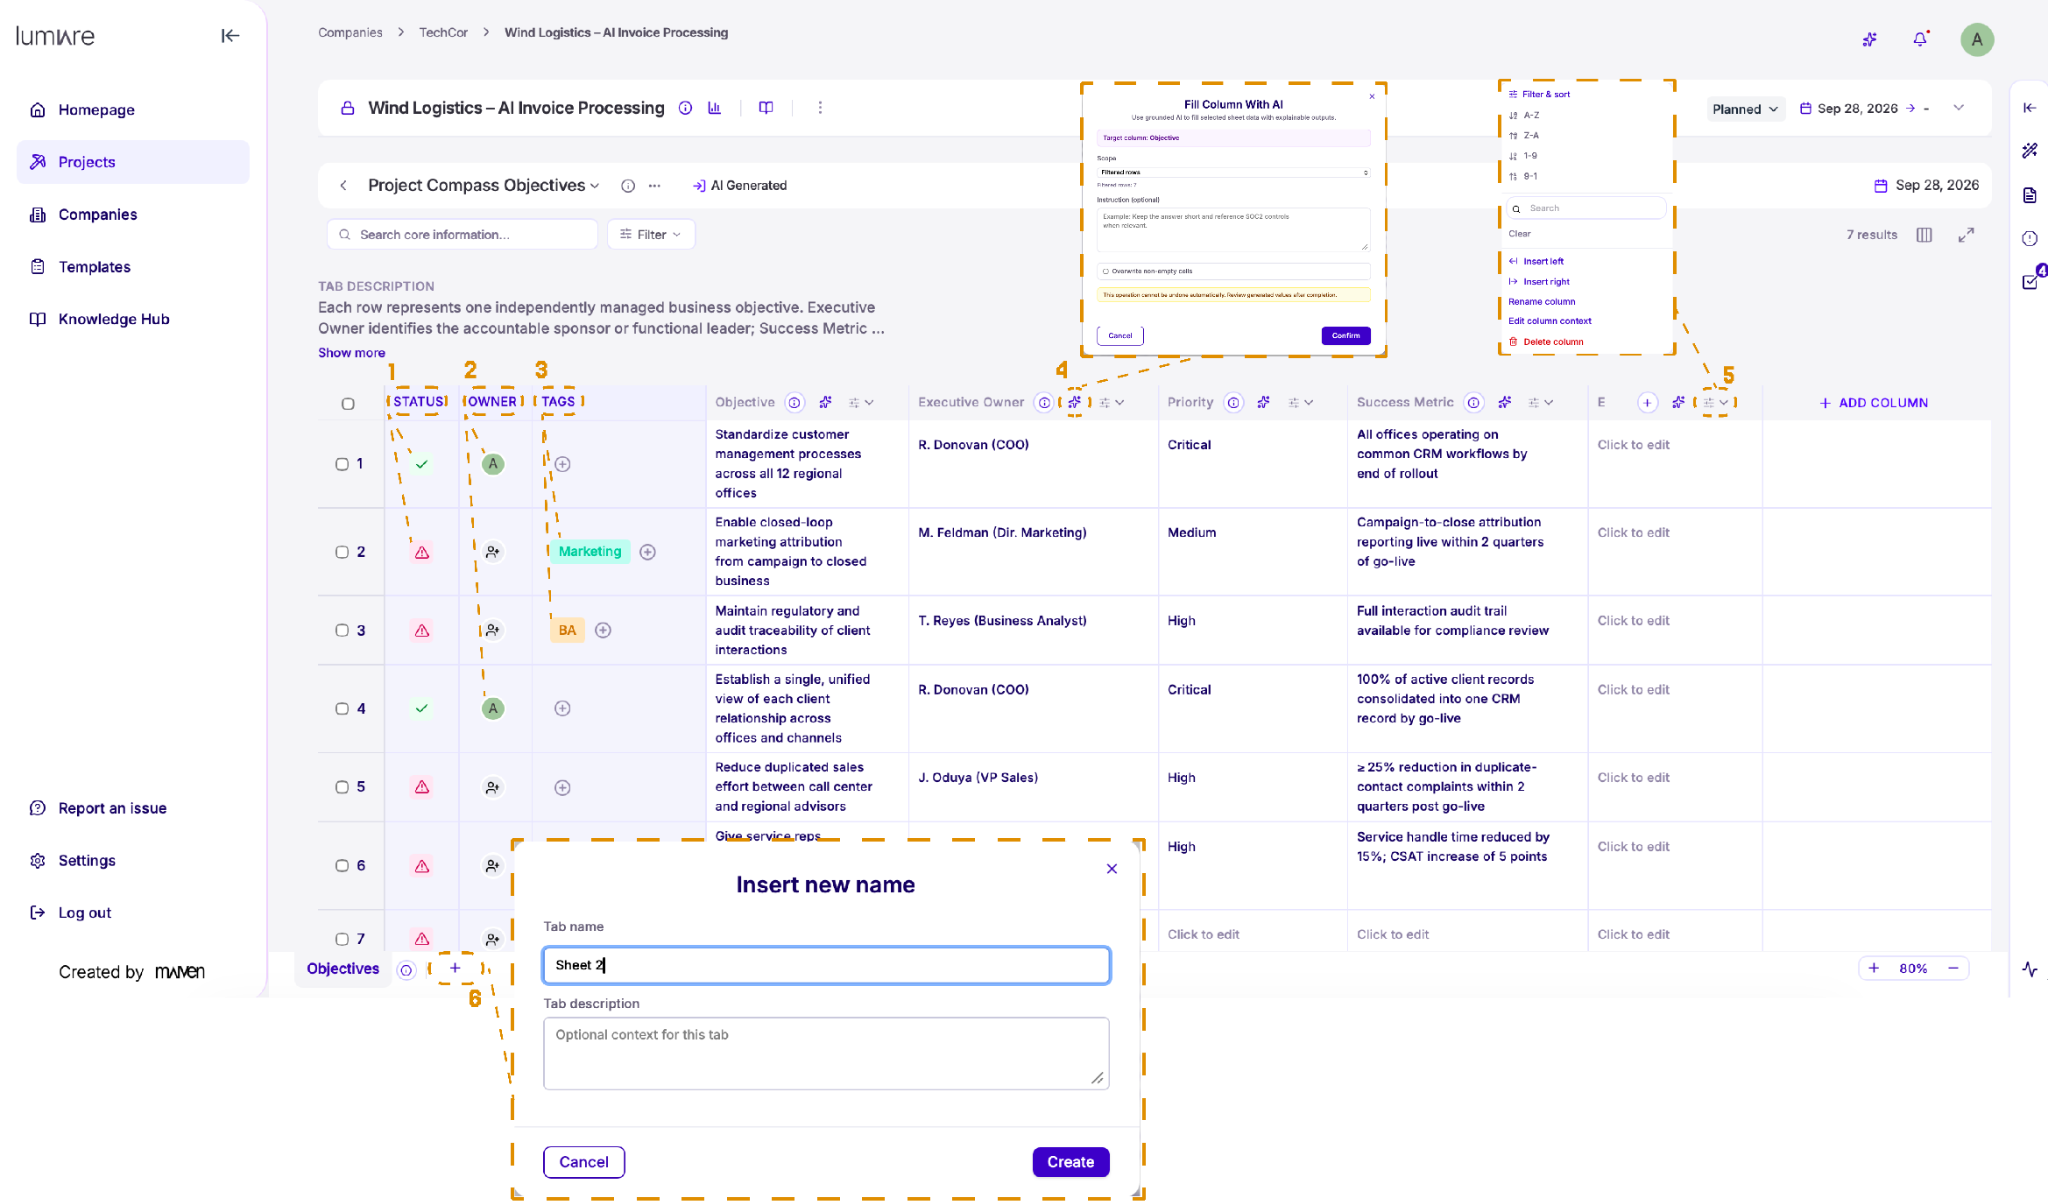
Sheets organize your project data into rows and columns. Each row can have its own status, owner, and tags, shown in the first three columns.
1. Status: A green check means the row is complete, and a warning icon means it still needs attention.
2. Owner: Click the person icon to assign the team member responsible for the row.
3. Tags: Click + to add tags to the row.
4. Fill a column with AI
Click the sparkle icon next to any column name to fill it automatically. Choose the scope (for example, all rows or only filtered rows) and add optional instructions. Tick Overwrite non-empty cells if you want existing values replaced, then click Confirm.
Note that this action can't be undone automatically, so review the generated values once it's complete.
5. Manage columns
Click the menu icon next to a column name to sort it, filter its values, insert a new column to the left or right, rename it, edit its context, or delete it. To add a column at the end of the sheet, click + Add Column.
6. Add a new tab
Click + next to the tab name at the bottom of the sheet. Enter a name for the tab and, optionally, a description to give the AI more context, then click Create.